eldr.ai | Quick Start
This example will get you up and running with ELDR AI and show you the core principles
We're going to create an AI Predictor, Recommender and Insights Generator in one go using minimal effort
In this Use Case we will walk through a Customer Product Purchase scenario from scratch, and get ELDR AI to learn from the data we provide.
The same principles can be used for many more scenarios and industries - so don't worry if this example isn't directly applicable to you. We will show you how
the same methods can be used for anything from big data intelligence to next step predictions to behavioural profiling, amongst many more.
In this example, we have gathered data about our online customers such as: what product they purchased, some personal/demographic information,
and whether they turned out to be a returning or non-returning customer - this is a type of AI Classifier known as Customer Churn
and is a common use of AI.
Task: We want ELDR AI to be able to learn from past customers so that when a new customer comes to our website we can quickly:
* Predict whether they are likely to be a returning or non-returning customer - so we can offer incentives if needed
* Recommend other products to them based on what they are about to purchase - so we can make more sales
* Gain insights about what is driving customer decisions - so we can inform the Marketing Strategy Team
(1) Download and have a look at the Customer Data example
Click here to download a small CSV file (3Kb, 150 rows) containing Customer Data that we want
ELDR AI to learn from.
You will see on row 1 (the labels row) that we want to tell ELDR AI:
PostCode
CreditScore
Age
ProductPurchased
PaymentMethod and
Churn
(returning/non-returning customer)
You will also see that row 2 (the inputs and outputs row) contains designators: input values (ip), input categories (ipc), and an output (op).
ip is used for values with a scale e.g. height, weight, age, time (in this case Credit Score and Age).
ipc
is used for non-scale values, categorical data and words e.g. product name, product ID, user ID, colour, a word from a sentence (in this case Post Code, Product Purchased and Payment Method).
op is always a number
and is 0(no/false) or 1(yes/true) for classification cases such as this one, or can be any number e.g. 0.45, 5, 12.1 for purely numerical tasks
There is also a third input option that handles words, paragraphs and sentences denoted by s. It's not used in this example,
but we'll look at that later during our Natural Language Processing (NLP) tutorial.
eldr can handle any number of different inputs and outputs at the same time.
The inputs and outputs row
tells ELDR AI that it needs to learn how all the specified inputs lead to (an) output(s)- e.g. in this instance we want ELDR AI to learn how Post Codes, Credit Scores,
Ages, Product Purchases and Payment Methods lead to Customer Churn -
this is fundamental to how AI and Machine Learning works.
The remaining rows contain our actual data.
We're going to use this downloaded example for ELDR AI to learn from.
(2) Create ELDR AI Data
Now you're familiar with ELDR AI data structure, let's go ahead and use the example data you have just downloaded.
From the Dashboard, sidebar or nav menu in ELDR AI, go to Create Data.
Enter "Customer Churn" in the Name field and select CSV from the Data Type dropdown as show below:

Select the example you have just downloaded in step(1) and upload it by pressing "Create" and hopefully you will be greeted with a success message.

From the Dashboard, sidebar or nav menu in ELDR AI, go to View Data where you will be able to view your newly-created data:

For this quick demo, that's all we need to do for the Data side of things.
(3) Create an ELDR AI Model
Now you have your data ready to go, let's create an AI Model so ELDR AI can learn from it.
From the Dashboard, sidebar or nav menu in ELDR AI, go to Create Model.
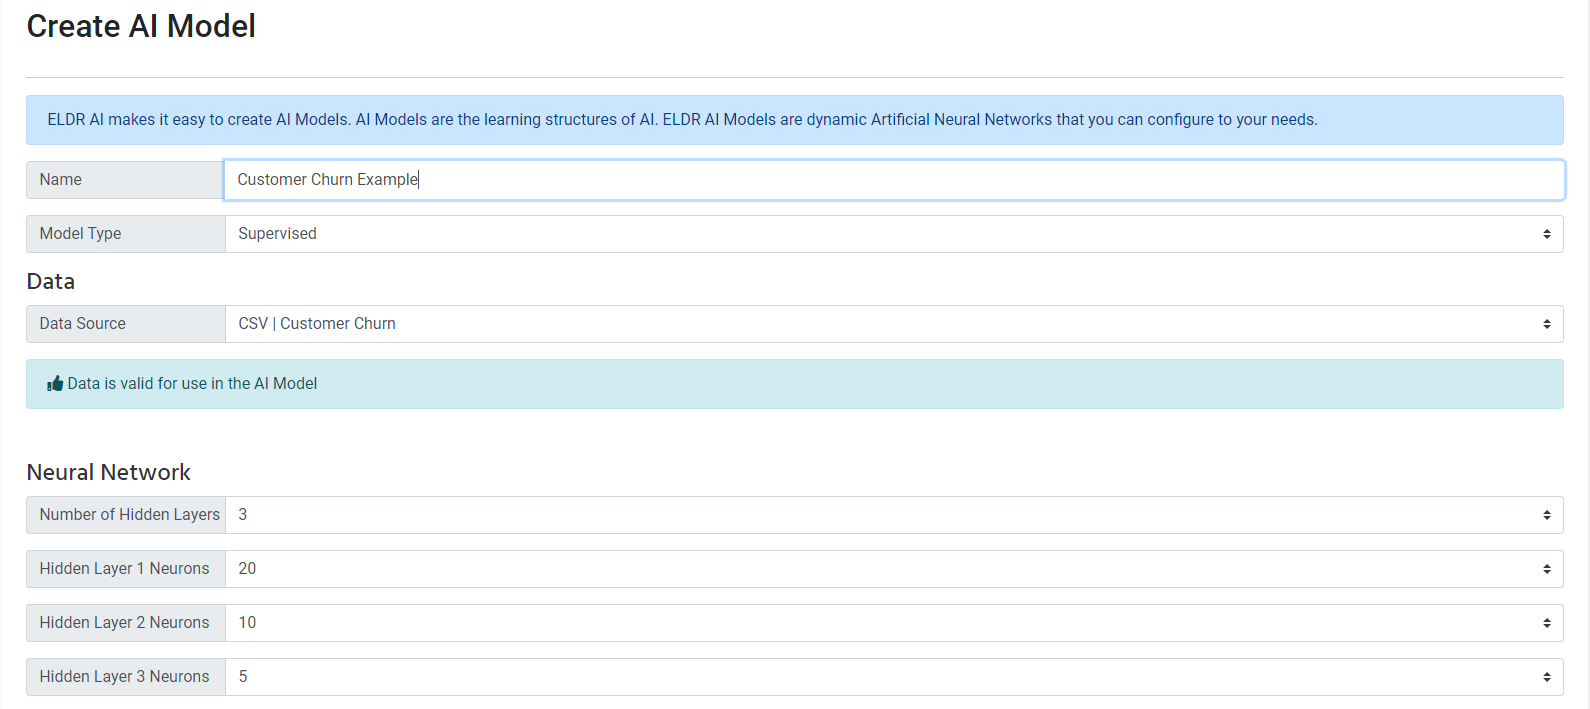
For this quick start demo, you only need to enter a Name of Customer Churn Example and make sure your Data Source
is CSV|Customer Churn (or whatever you called the Customer Data example).
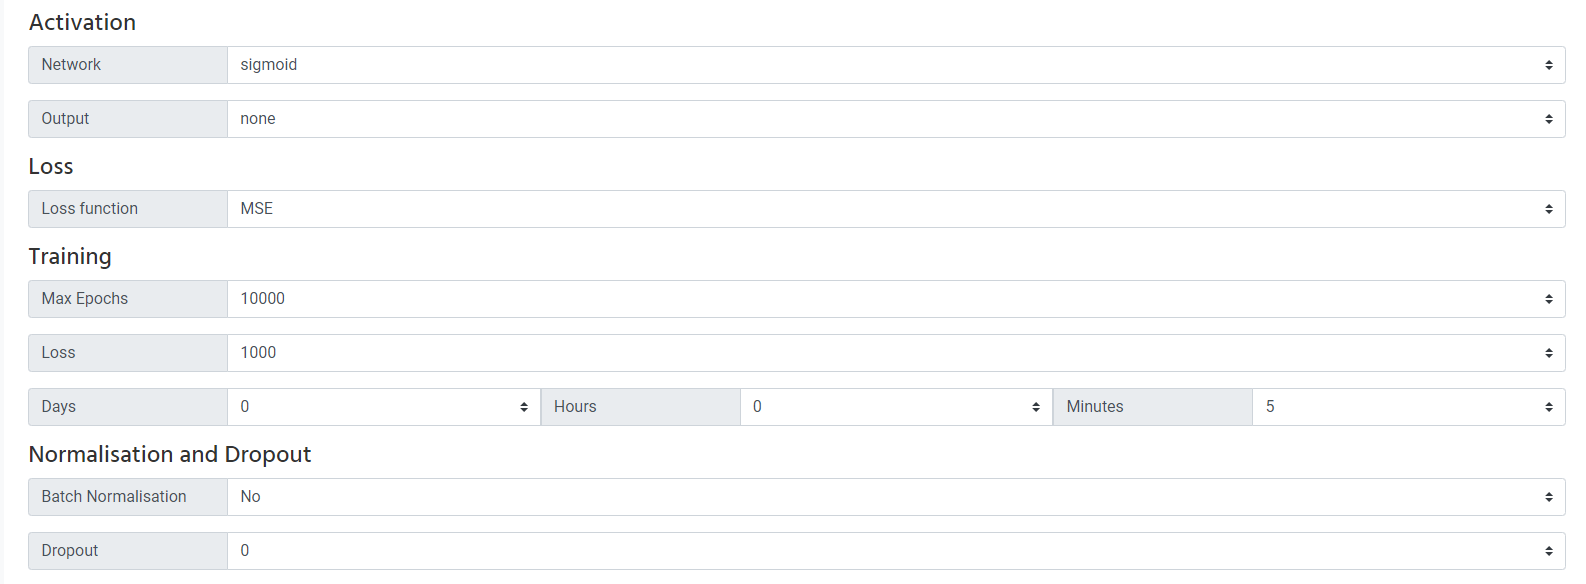
There are plenty of other parameters you can use when you get to know ELDR AI (all of which are detailed in these Docs),
but for this example, leave the default values (shown in the images for reference and familiarisation) and click Create to create your first ELDR AI Model.

You should hopefully receive a success message:

From the Dashboard, sidebar or nav menu in ELDR AI, go to View Models where you will be able to view your newly-created Model
(split into two images below for illustration - you will see it is quite a wide table due to the useful amount of data displayed, all of which will become apparent as you get to know ELDR AI):


(4) Train your ELDR AI Model
You have successfully created an ELDR AI Model ready to learn your Customer Data.
The next step is to Train the Model.
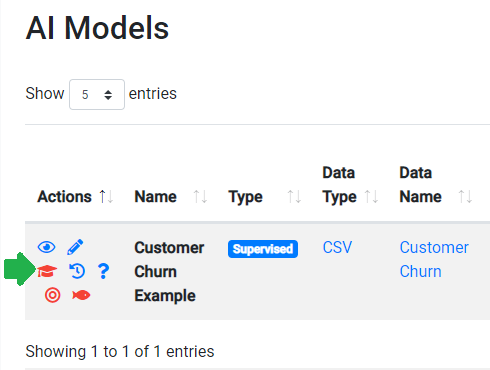
You can get to the Training screen multiple ways, however for this quick start demo we will click the Training Action icon
(graduation cap, highlighted with the green arrow) from the View Models page from above:
You will be taken to the Training screen where you will see information about your Model:
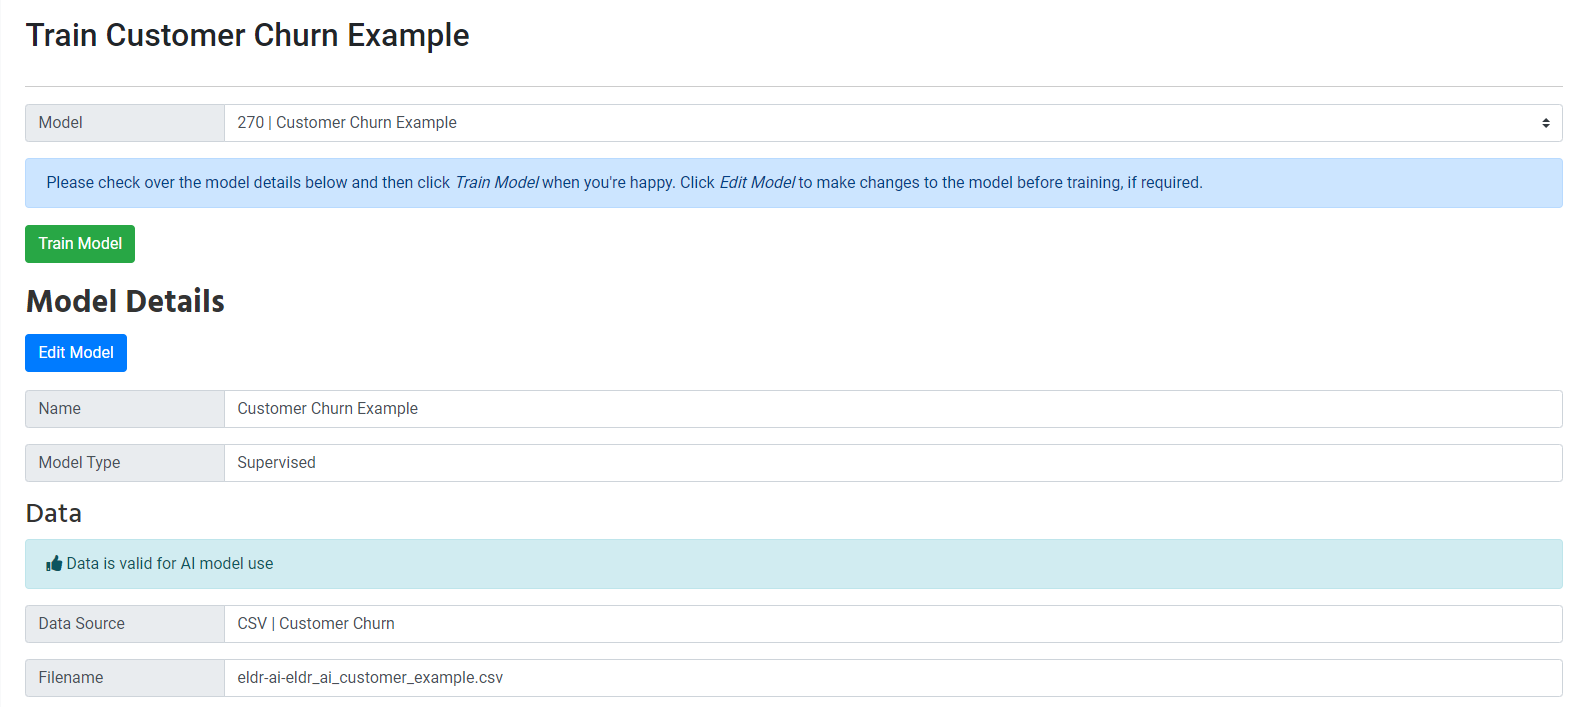
All you need to do now is click the green Train Model button, which will change to

During and after training (which for this quick demo should take a matter of seconds, but for larger data-sets cans take minutes or hours)
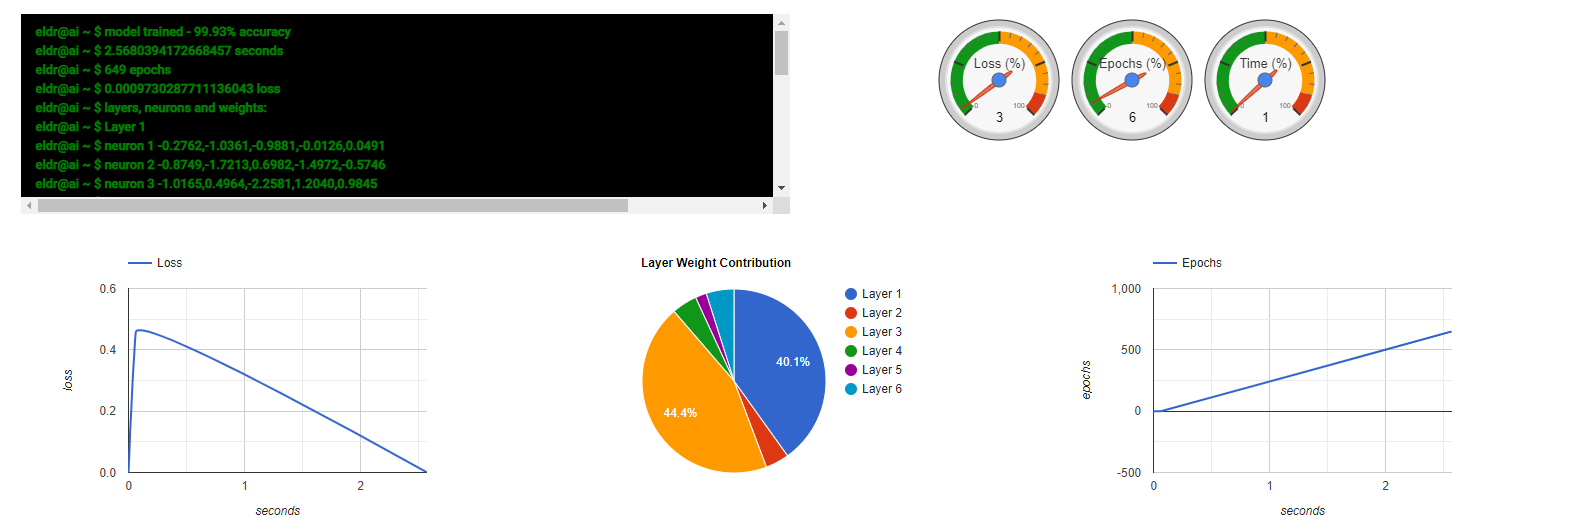
useful information will be displayed in the form of a pseudo-server readout, graphs and charts -
as you get to know ELDR AI, this will be useful for optimisation:
After training has completed you will get an alert message giving you an outcome of the training. If you have followed this example to the letter,
you will hopefully see a success message looking like this:

Note the Accuracy here. After training, ELDR AI automatically passes all the inputs in again and compares its predicted output
with output columns specified in the data. The result of this test is the accuracy.
(5) Get Predictions and Recommendations
You have successfully trained your ELDR AI Model and you now want ELDR AI to start giving you some useful information.
With ELDR AI you can get predictions and recommendations in many ways including via an online form, API or via CSV. For this quick start demo, we'll
use the online form functionality.
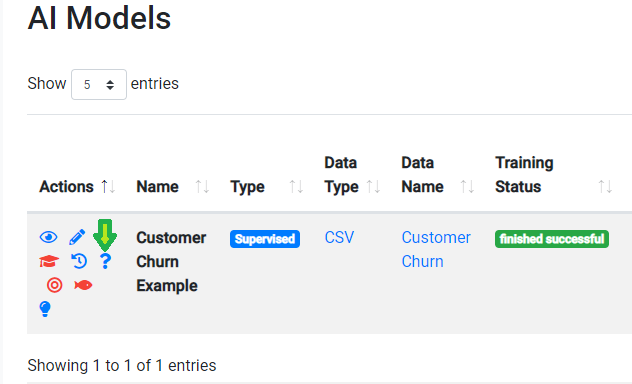
You can get to the Ask ELDR screen multiple ways, however for this quick start demo we will click the Ask ELDR icon
(question mark, highlighted with the green arrow) from the View Models page from above:
You will be taken to the Ask ELDR page, where the Form option is open by default.
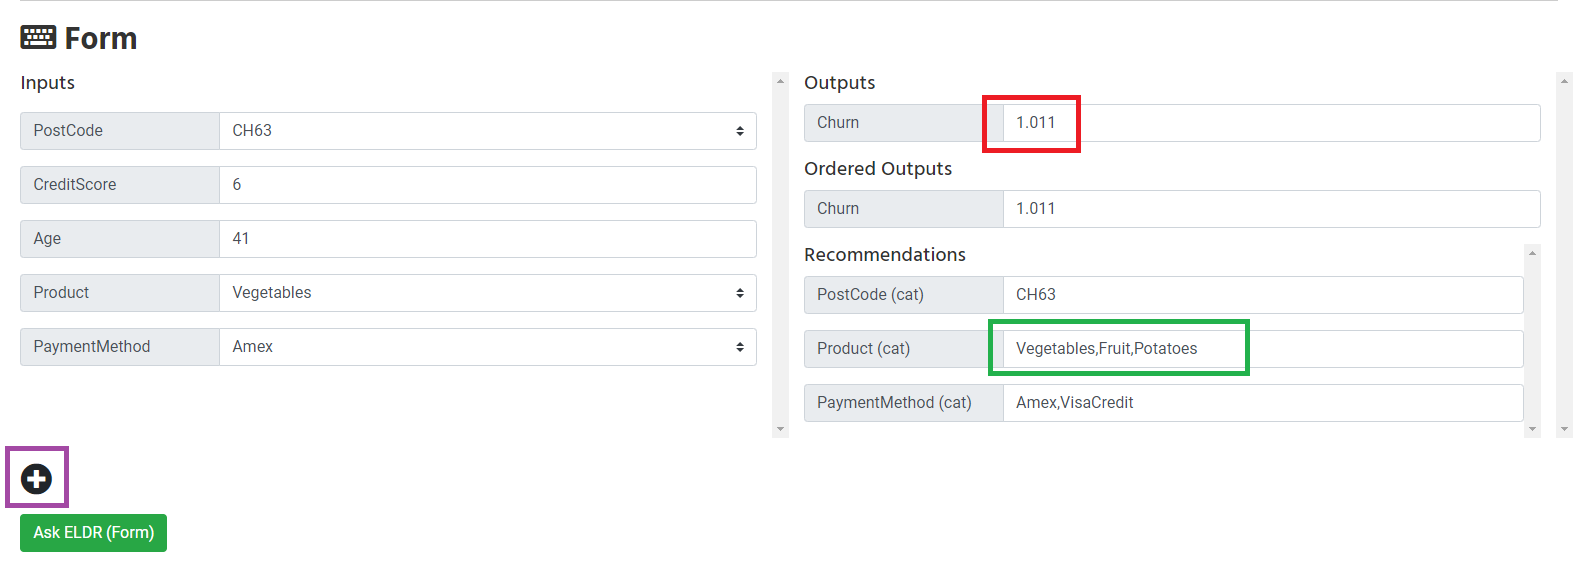
On the left of the form are your inputs. These are what you supply to ELDR AI to get outputs (predictions) and recommendations on the right.
To start with, in the input fields, put values in taken directly from the input data so we can confirm ELDR AI has learnt what we told it. e.g.
above we have taken from the csv data line 4 "CH63,6,41,Vegetables,Amex" and we are expecting a "1" as the output Churn value after pressing "Ask ELDR(Form)" button.
In this case we can see (red box) ELDR AI has successfully learnt to give an output of ~1 with these input values.
Now have a play around with the inputs using other values that you have and haven't told ELDR AI about - these will produce predictions. Some fields
will influence the output (prediction) more than others - this is what ELDR AI has found out for us.
You can send in multiple requests in one go by creating additional forms using the "plus" button highlighted with the purple box.
Please note the green box. These are our recommendations and in this case ELDR AI has learnt that customer profiles who purchase Vegetables, also
buy Fruit and Potatoes. You will also see in the recommendations section that ELDR AI makes recommendations for all ipc (cat/category)
fields. This is discussed below in Insights.
Although we won't discuss it in this quick start guide, while you're on the Ask page it could be useful for you (depending on how you intend to use ELDR AI)
to have a look at the other ways of asking ELDR AI - e.g. API, URL, CSV, Text and Chart. Click on each of the headings to have a look. These are discussed in more detail in the docs.
(6) View Insights
It's useful to be able to get an overall view of how ELDR AI interprets the overall data it has learnt from
(or how it holds information in its artificial neurons).
For example, to get a single prediction from ELDR AI we need to pass in all input values, however we might also need to know how each individual input influences
the overall output, independently of the others. You may have found when playing around with the Ask ELDR AI predictions page that some inputs influence the output more than others.
This is where ELDR AI Insights comes in to play - we are able to isolate each field to see the individual trends and similarities.
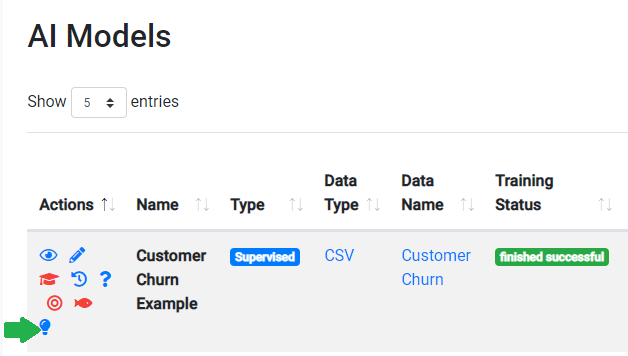
You can get to the Insights screen multiple ways, however for this quick start demo we will click the Insights icon
(lightbulb, highlighted with the green arrow) from the View Models page from above:
Clicking on the Insights icon will take you to the Insights page:

The Insights page is split into two sections (graphs for trends, and heatmaps for similarities) which load independently:

Graphs are used to spot trends for each input e.g. how each input on its own influences the output.
ELDR AI does this by automatically generating multiple predictions where the subject input value increases and all other inputs are turned off.
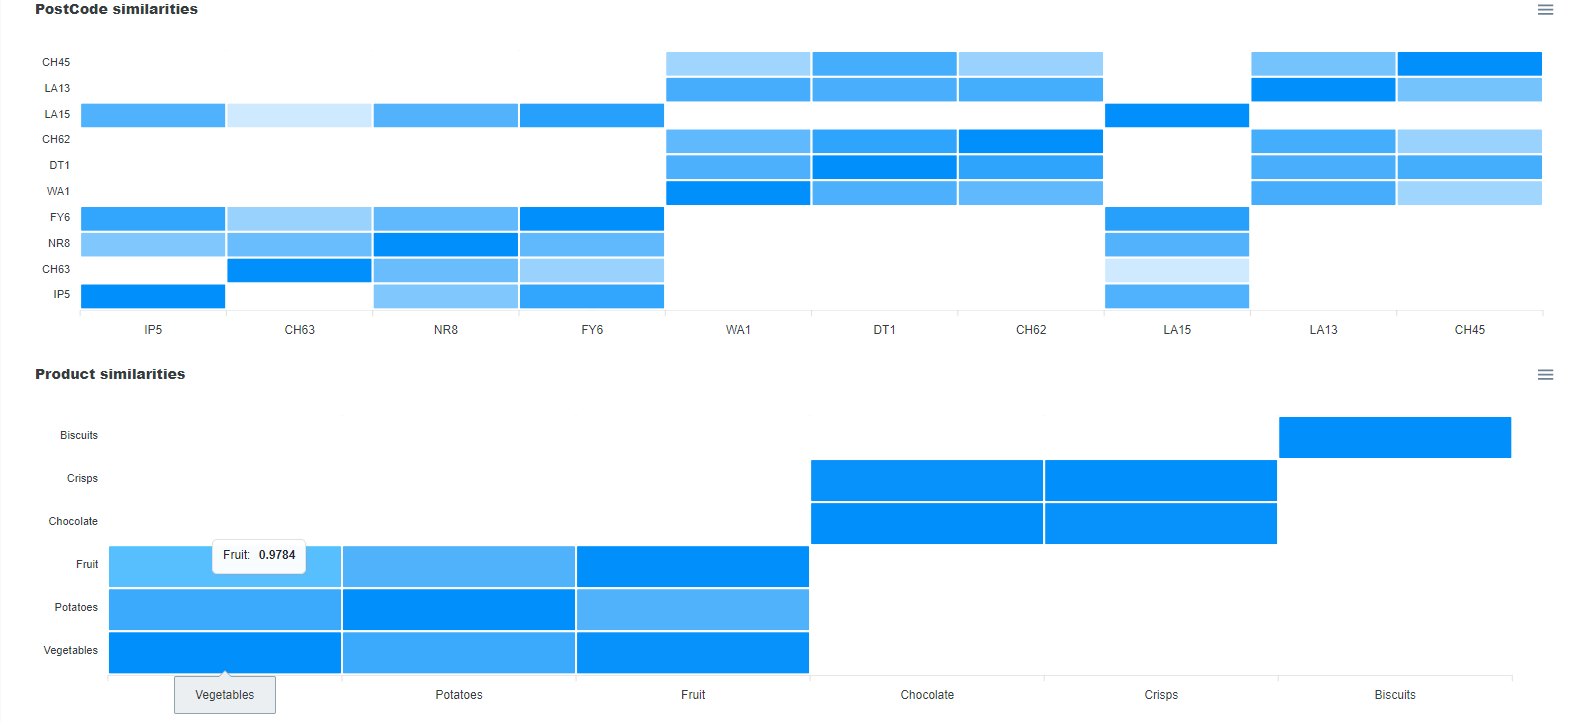
Heatmaps are used to display similarities between ipc/categorical
inputs after ELDR AI has learnt how they influence the entire model.
When the similarity is greater than 75% (as seen above with Fruit and Vegetables) ELDR AI classes this as a recommendation e.g.
in this instance ELDR AI has spotted a high similarity between customer profiles who buy Fruit and Vegetables (98%), whereas there is no similarity between
customer profiles who buy biscuits and those who purchase fruit.
That concludes the ELDR AI quick start guide