eldr.ai | Create, View and Edit ELDR AI Models
If you haven't already, please have a look at the
AI Model Parameters
guide before going through this tutorial as this guide is an extension of that.
ELDR AI allows you to easily create highly dynamic AI Models to suit all needs.
Navigate to the "Create Model" via the Dashboard, side menu or nav menu:
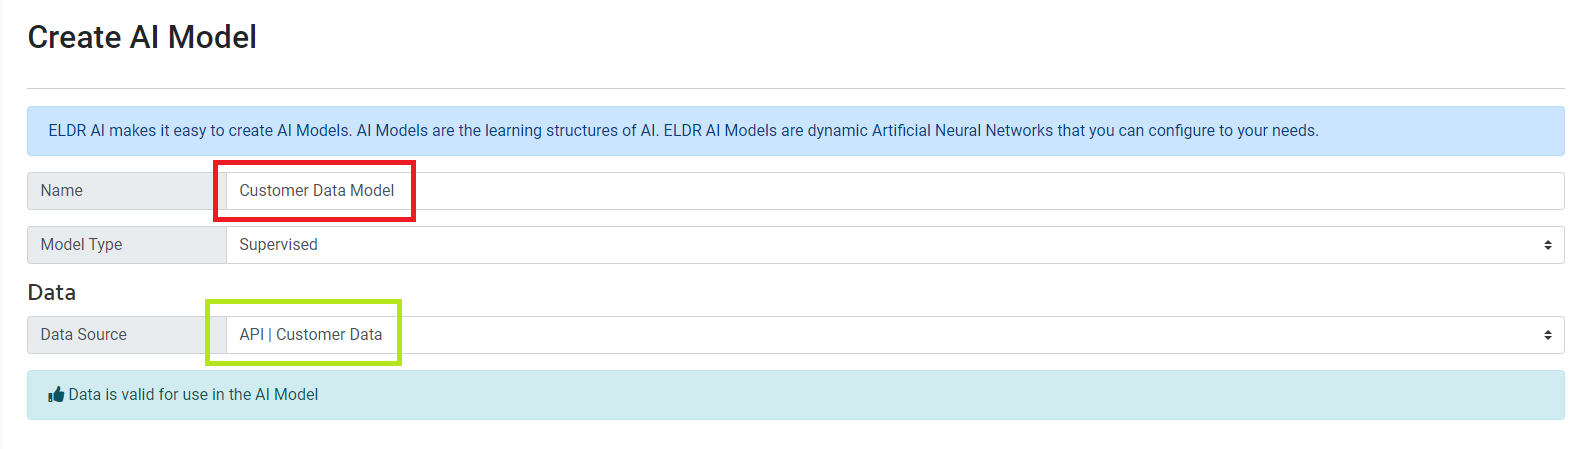
The first thing to do is to enter a unique Model Name (red box) and make sure you have selected the correct data source (green box). "Model Type"
is always "Supervised", but we may be adding other options in the future.
The next step is to define the Model itself using the remaining form parameters.
If you are new to ELDR AI it's worth trying the default settings first which should work for most small to medium sized data sets.
As you get to know ELDR AI you will get a feel for which parameters work best for you and your data.

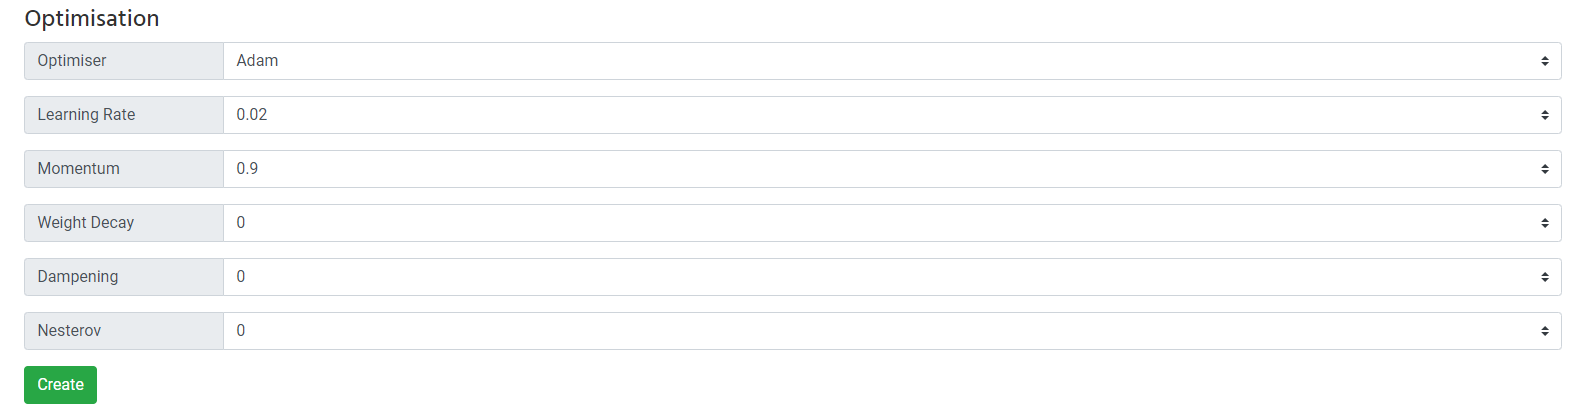
When you are happy with the parameters you have chosen click "Create" and if there aren't any problems you'll get a success message:

View ELDR AI Models
Navigate to the "View Models" via the Dashboard, side menu or nav menu:
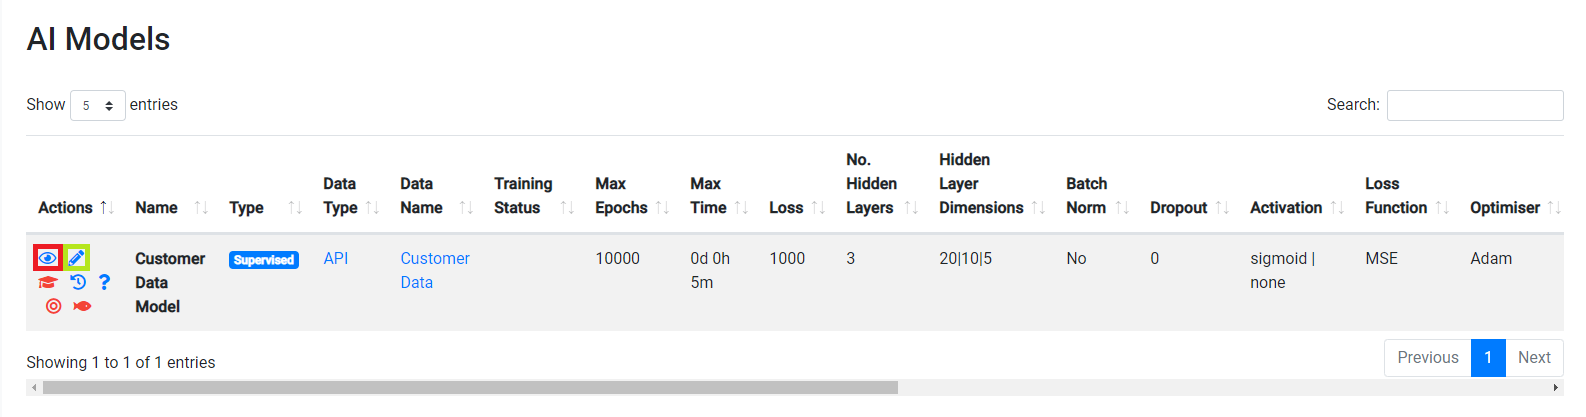
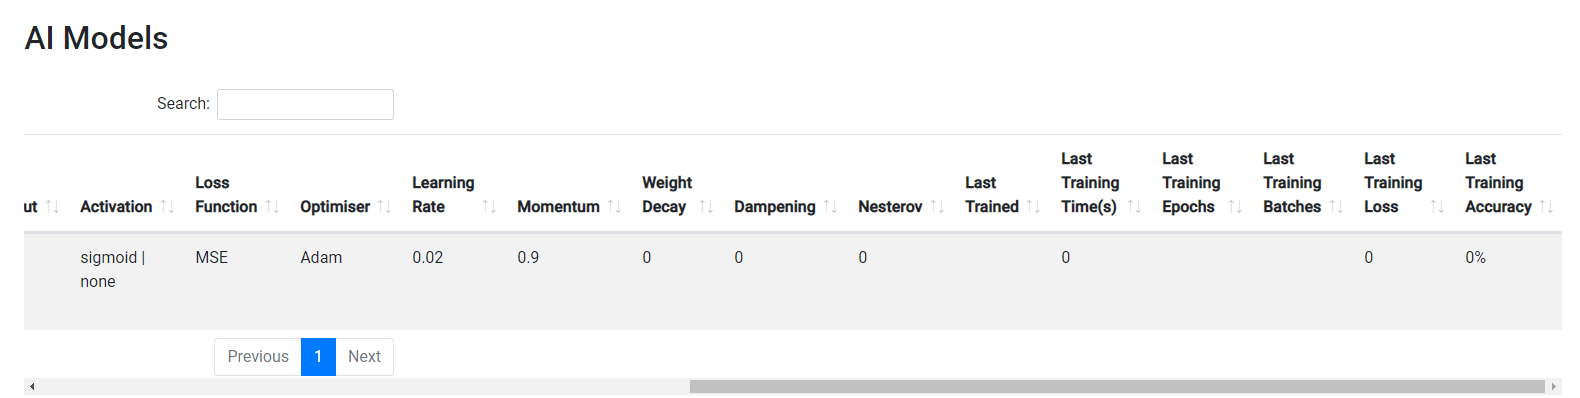
You will see your newly-created Model with all the parameter settings displayed in table format - all self explanatory.
To view a single Model click the "eye" view icon (red box) and you will be taken to a full view of your Model, including the data source.
Edit ELDR AI Model
To edit a Model click the "pencil" edit icon (green box) and you will be taken to a full editable-view of your Model, which is exactly the same as
the "Create Model" page.
Make any changes and click "Update".
Navigate back to the "View Model" page to see your updated Model.
That concludes the ELDR AI guide to creating, viewing and editing Models.